
An Exercise in Docker Swarm – Pt. 1 The Swarm Setup
In this article I will go over my setup of Docker Swarm and why I set it up the way I did.
Before I built the swarm itself I needed a common place to store files for persistence purposes, so I took my primary server and created an NFS share folder on it that. I will skip the setup process of the NFS server as that is out of the scope of this article. Once I had that completed I began sourcing the hardware for the swarm.
In this swarm I will have two nodes; both manager nodes, this is because all I have currently free in terms of hardware is two old laptops. Initially I put CentOS 9 on them to test that out in parallel, however due to memory errors I had to downgrade to CentOS 7 for this project. The OS isn’t extremely important for this; however as swarm should work the same on both, and containers are independent of the host OS.
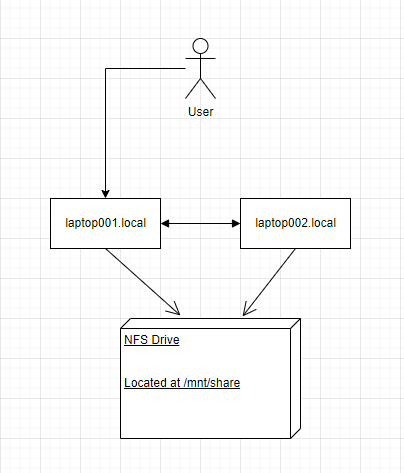
With the machines set up with CentOS 7 and on my home network, named laptop001.local and laptop002.local respectively, I followed THIS ARTICLE on how to set up Docker on the machines. Additionally I mounted the NFS share drive from earlier into the /mnt/share directory on both machines. This left me with two nearly identical nodes, only differing in hardware specs.
Next I follow THIS ARTICLE on how to set up the swarm, and once I have one manager node I execute docker swarm join-token manager to get the command and token to join the other node as a manager.

Once both nodes are connected, we are prepared to begin development. Here is the basic layout of the cluster. As you can see it is quite simple but it will do for some basic home infrastructure development.
In the next article, I will go over development of a Grafana server that can fail over to the other node in Docker Swarm.